.svg)

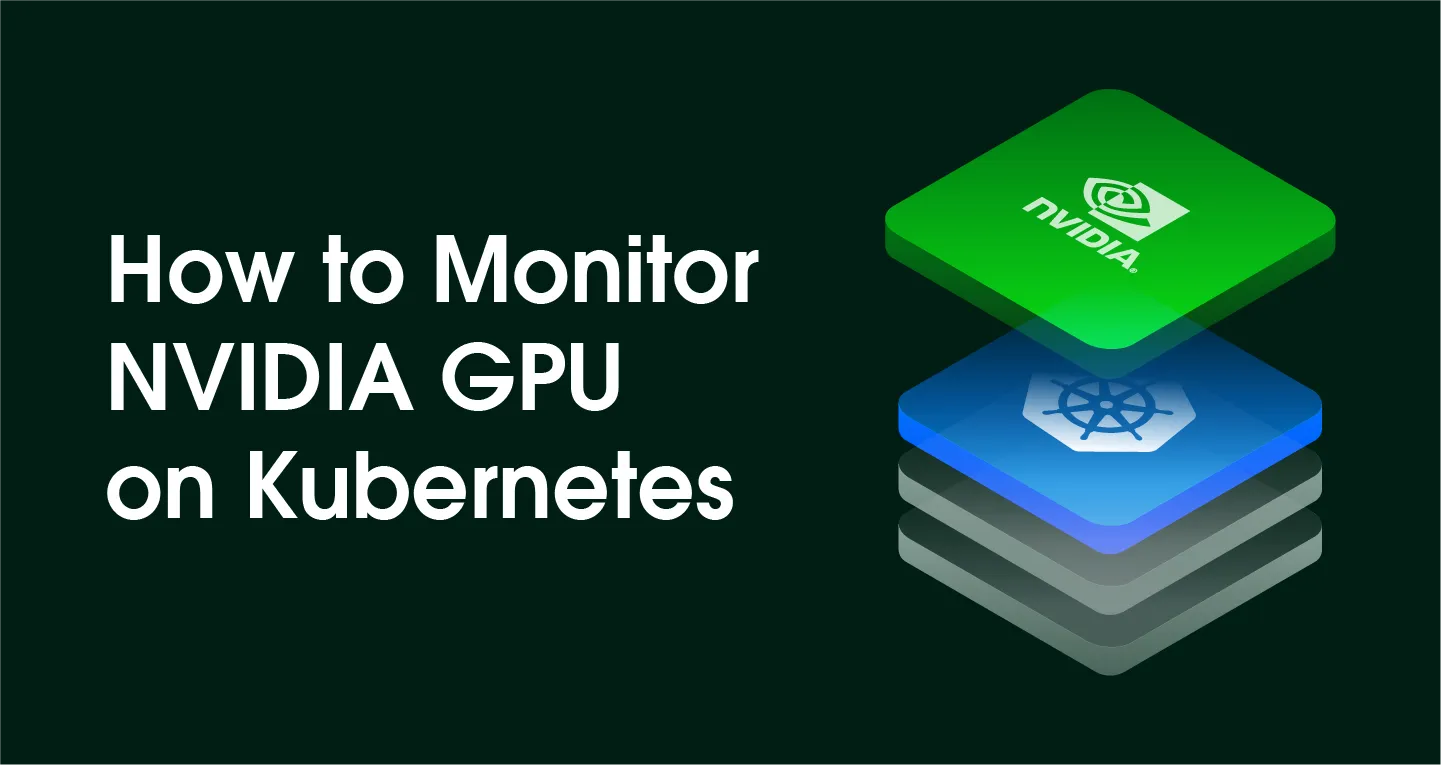
When running GPU workloads on Kubernetes, one of the most important things is GPU performance monitoring. In this article, we'll take a step-by-step look at the entire process of activating an NVIDIA GPU in an actual operating environment based on a local minikube test environment and collecting detailed GPU metrics through DCGM-Exporter.
.png)
The final goal
- Set the minikube cluster to recognize the host's NVIDIA GPU and allow pods to request GPUs (Nvidia.com/gpu: 1)
- Install DCGM-Exporter to collect detailed performance indicators such as GPU temperature, usage rate, and memory clock in Prometheus format
- Collect metadata required for operation, such as CUDA version and driver information by adding custom metrics
test environment
This guide was tested in the following environments:
- host OS: Ubuntu 24.04
- Kubernetes: Minikube v1.36.0
- container driver: Docker
- GPU: NVIDIA GeForce RTX 4060
- NVIDIA driver: 560.94
- Essential tools: kubectl, helm
Works in other environments: This guide works on most Linux environments with NVIDIA GPUs. The principles are the same regardless of the GPU model or driver version.
Step 1: Enabling the GPU on Minikube
At first, I spent a lot of time trying to use a complicated GPU Operator, Minikube has a simple method built in.
💡 About --gpu = all
-gpus allThe flag automatically processes the following tasks:- Set the minikube internal container runtime (Docker) to communicate with the host GPU driver
- essential
Nvidia-device-pluginAutomatically activate add-ons - Register GPU resources with the Kubernetes API
Check settings
After the installation is complete, check that NVIDIA.com/gpu appears at least 1 in the node's allocatable resources list with the following command:
Step 2: Install DCGM-Exporter
DCGM-Exporter can also be installed as a Helm Chart or GPU Operator. Too complicated in a minikube environmentI will. Installing directly in YAML is simpler and easier to understand.
Basic DCGM-Exporter installation
Deploy and verify
Step 3: Check metrics
Accessing metric endpoints
Check metric data
Expected output
📈 Understanding Prometheus metric formats
- HELP: A description of the metric (for example, GPU temperature)
- TYPE: Metric type (counter, gauge, histogram, etc.)
- metric label: Key-value pairs that separate time series data
- wage: Actual measured values (updated at default 30-second intervals)
Step 4: Add custom metrics
Why do we need custom metrics?
Basic metrics (Check out the full list) In addition, in the actual operating environment, the required indicators may vary depending on the situation. For example, there are situations where monitoring of GPU device metadata and network load is required, as shown below. In this case, it is necessary to collect additional metrics in addition to basic metrics.
- CUDA version: Check application compatibility
- NVIDIA driver version: Driver update management
- PCIe information: GPU network performance monitoring
Configuring metrics via ConfigMap
.png)
Step 1: Create an extended metrics ConfigMap
Step 2: Deploy the ConfigMap
Step 3: Update DaemonSet
Step 4: Apply updates
Step 5: Check extended metrics
Testing new metrics
Expected output
Next step: Prometheus & Grafana integration
Now that we've collected GPU metrics, we'll discuss the following in the next post.
- Prometheus installation and DCGM-Exporter integration
- Grafana dashboard configuration
- GPU performance alert settings
- Build a real-time monitoring dashboard
Reference materials