Project introduction
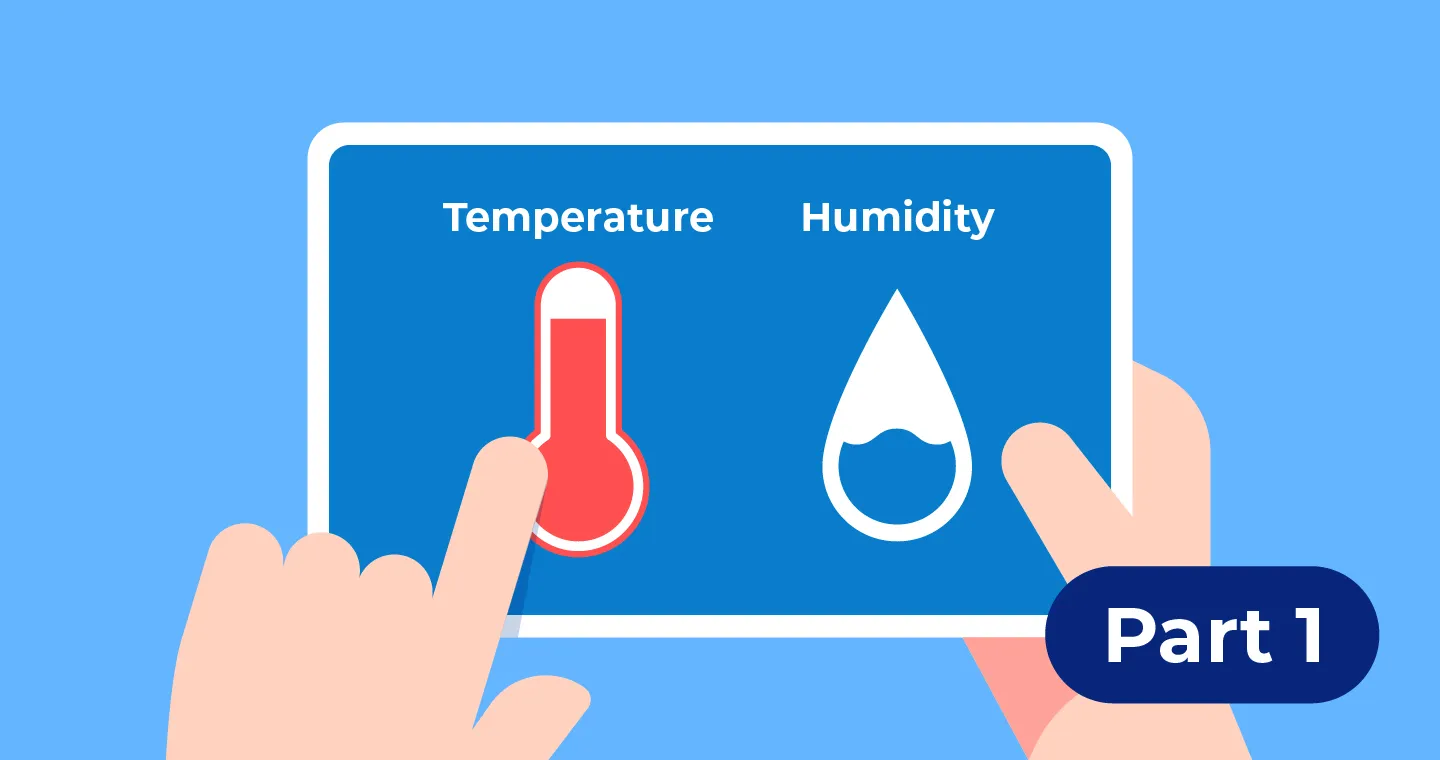
With the advent of the smart home era in earnest, IoT devices for temperature and humidity monitoring and related services are overflowing. There are various options, such as Tuya's SmartLife, Korea's Hay Home, TP-Link's Tapo, and SmartThings acquired by Samsung. These products have the advantage of being easy to use with just a Wi-Fi connection and mobile app registration, but there are some drawbacks from a developer's point of view.
Most services collect data in 1-minute or 1-hour increments, and this data collection cycle may not be sufficient in situations where detailed monitoring is required.
The purpose of this project was to solve these problems. We want to manage the smart home environment more efficiently through more detailed data collection and real-time notifications, and we are planning to implement this using Watab.
Why build with WhaTap?
There are the following advantages of using Watab.
- 5-second incrementsData collection cycle can be set up to
- Intuitive dashboardsData visualization through
- Open APIProviding data accessibility through
- Grafana integrationCustom dashboards can be configured with
- Set up real-time notifications Providing features
These systems also offer the possibility to expand beyond simple hobby projects to practical projects such as smart farms.
Project implementation process
In this series, the project will be carried out in a total of three stages.
1. Hardware configuration
- Raspberry Pi setup
- Connect and test temperature and humidity sensors
- Building a data collection environment
2. Watap integration
- Implement transfer of collected data to Wattaps
- Dashboard configuration
- Set reminders
3. Mobile app development
- Using the Wtab Open API
- Implementing a real-time monitoring app
What hardware to use
1. Raspberry Pi (Raspberry Pi)
Raspberry Pi is an educational minicomputer developed by the Raspberry Foundation in the UK. Since the launch of the first generation Model B in 2012, the Raspberry Pi 5 has now been released, and the latest version provides performance that can also be used as a personal PC. It is also used for industrial purposes due to its small size and low power characteristics.
This project uses the Zero 2 W model. This model measures 6.5 cm x 3 cm, is equipped with a 1GHZ quad-core 64-bit Arm processor, 512 MB SDRAM, and supports Wi-Fi. It is characterized by its small size and low price. You can use various Linux distributions, including directly supported Raspberry Pi OS.

2. Temperature/humidity sensor
There are various temperature and humidity sensors, and DHT11, DHT22, SHT31, and BME280 are easily available in Korea. Among them, I chose DHT22 (AM2302), which is economical and easy to install.
DHT22 (AM2302) Key Specs
- Temperature measurement range: -40~80°C (±0.5°C)
- Humidity measurement range: 0-100% RH (± 2-5%)
- Digital 1-wire method
- Sampling cycle: 2 seconds

Software to use
WhaTap Focus provides a function that allows you to easily transfer external time series data to the WhaTap service. This feature allows you to monitor user data that the agent does not collect by default.
WhATap Server can collect basic system metrics by installing agents on the server, and can also monitor additional data through WhATap Focus.
WhATap Open API
Data stored in Watap can be queried through the REST API. MXQL, WhaTap's query language (https://docs.whatap.io/mxql/mxql-overview) is supported, and various data can also be easily searched and used.
Next post notice
In this series, we plan to build a temperature and humidity monitoring system using the various functions of WTAP. The sensor data collected by the Raspberry Pi will be transmitted through WhATap Focus, the status of the Raspberry Pi will be monitored by the WhATap Server, and the data will be visualized in the mobile app through Open API.
Series composition
Part 1: Project Overview (Current)
- Project introduction
- What hardware to use
- Software to use
Part 2: Hardware configuration
- Raspberry Pi (Zero 2 W) settings
- Connecting a temperature and humidity sensor (DHT22)
- Building a data collection environment
Part 3: Watap integration
- WhaTap Focus settings
- Implementing data transfer
- Configure the WhaTap dashboard and notifications
Part 4: Mobile app development
- WhaTap Open API integration
- Implementing a real-time monitoring app
Through this series, we will implement a smart monitoring solution that integrates IoT devices, monitoring systems, and mobile apps step by step. Please look forward to it!
.svg)


